
Adding a site icon to your WordPress theme is essential for improving the visual representation of your website in browser tabs, bookmarks, search results, and app shortcuts. Here’s a straightforward guide on how to accomplish this:
Method 1 – Using the Site Editor:
- Open the Site Editor.
- Locate and open the header you’re currently using on your website. For this example, we’ll assume you’re using the default stacked header.
- Find your site logo within the header.
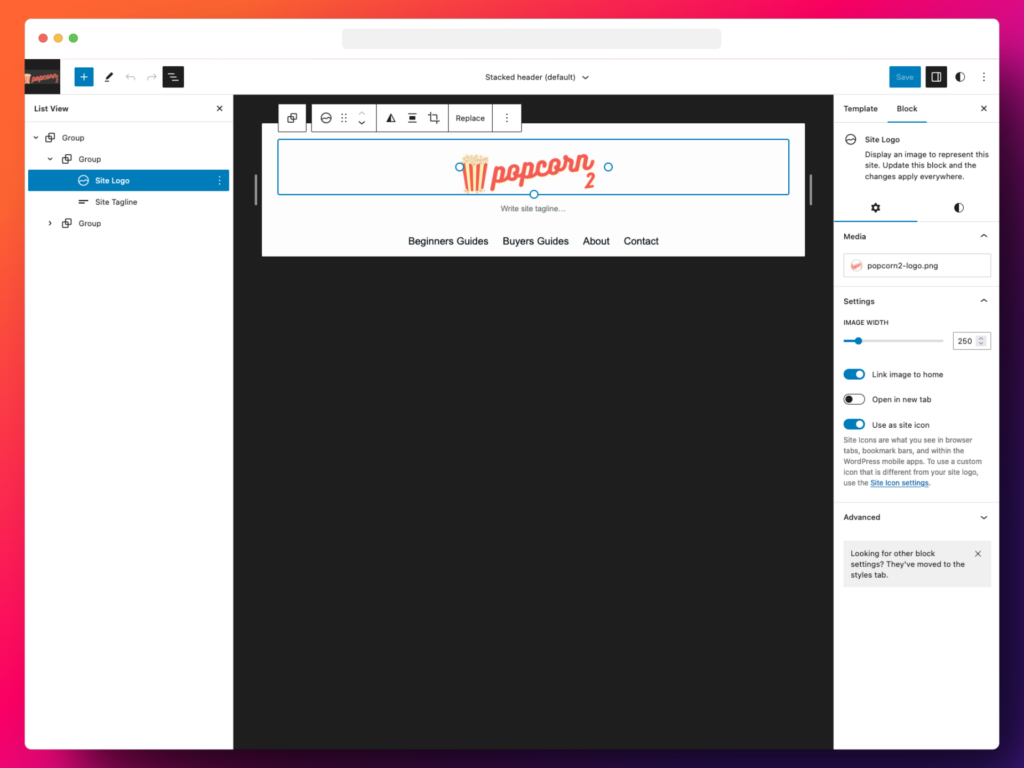
- In the block settings for the Site Logo block, click on the Site Icon Settings hyperlink.
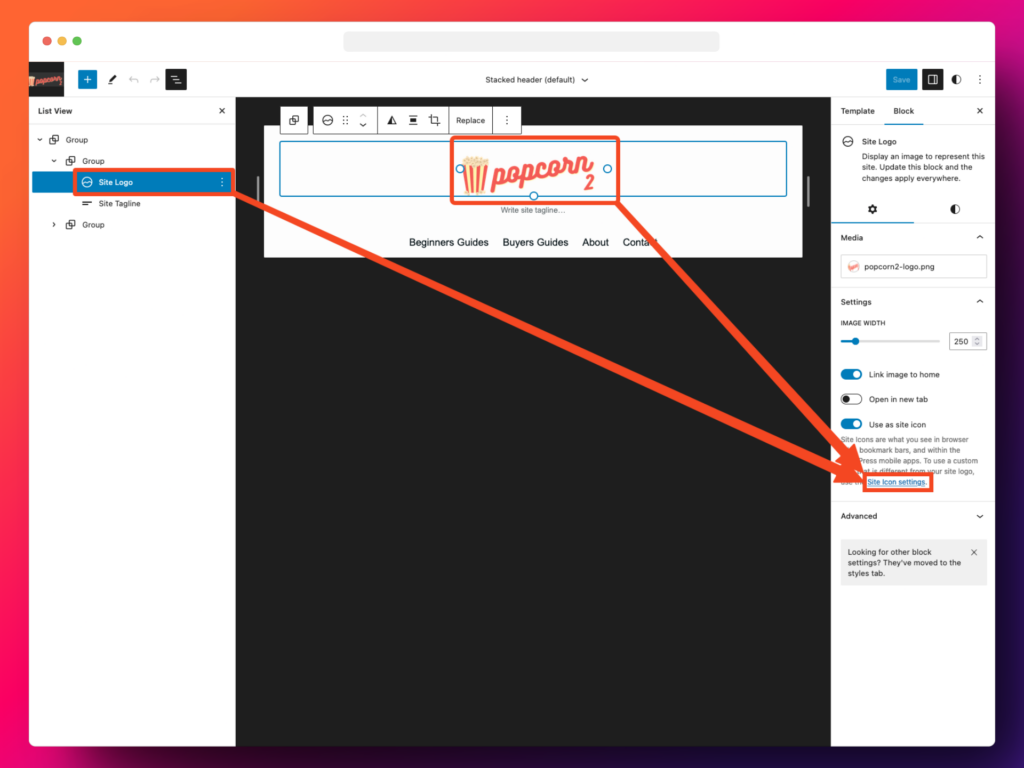
- This action will launch the older customizer.

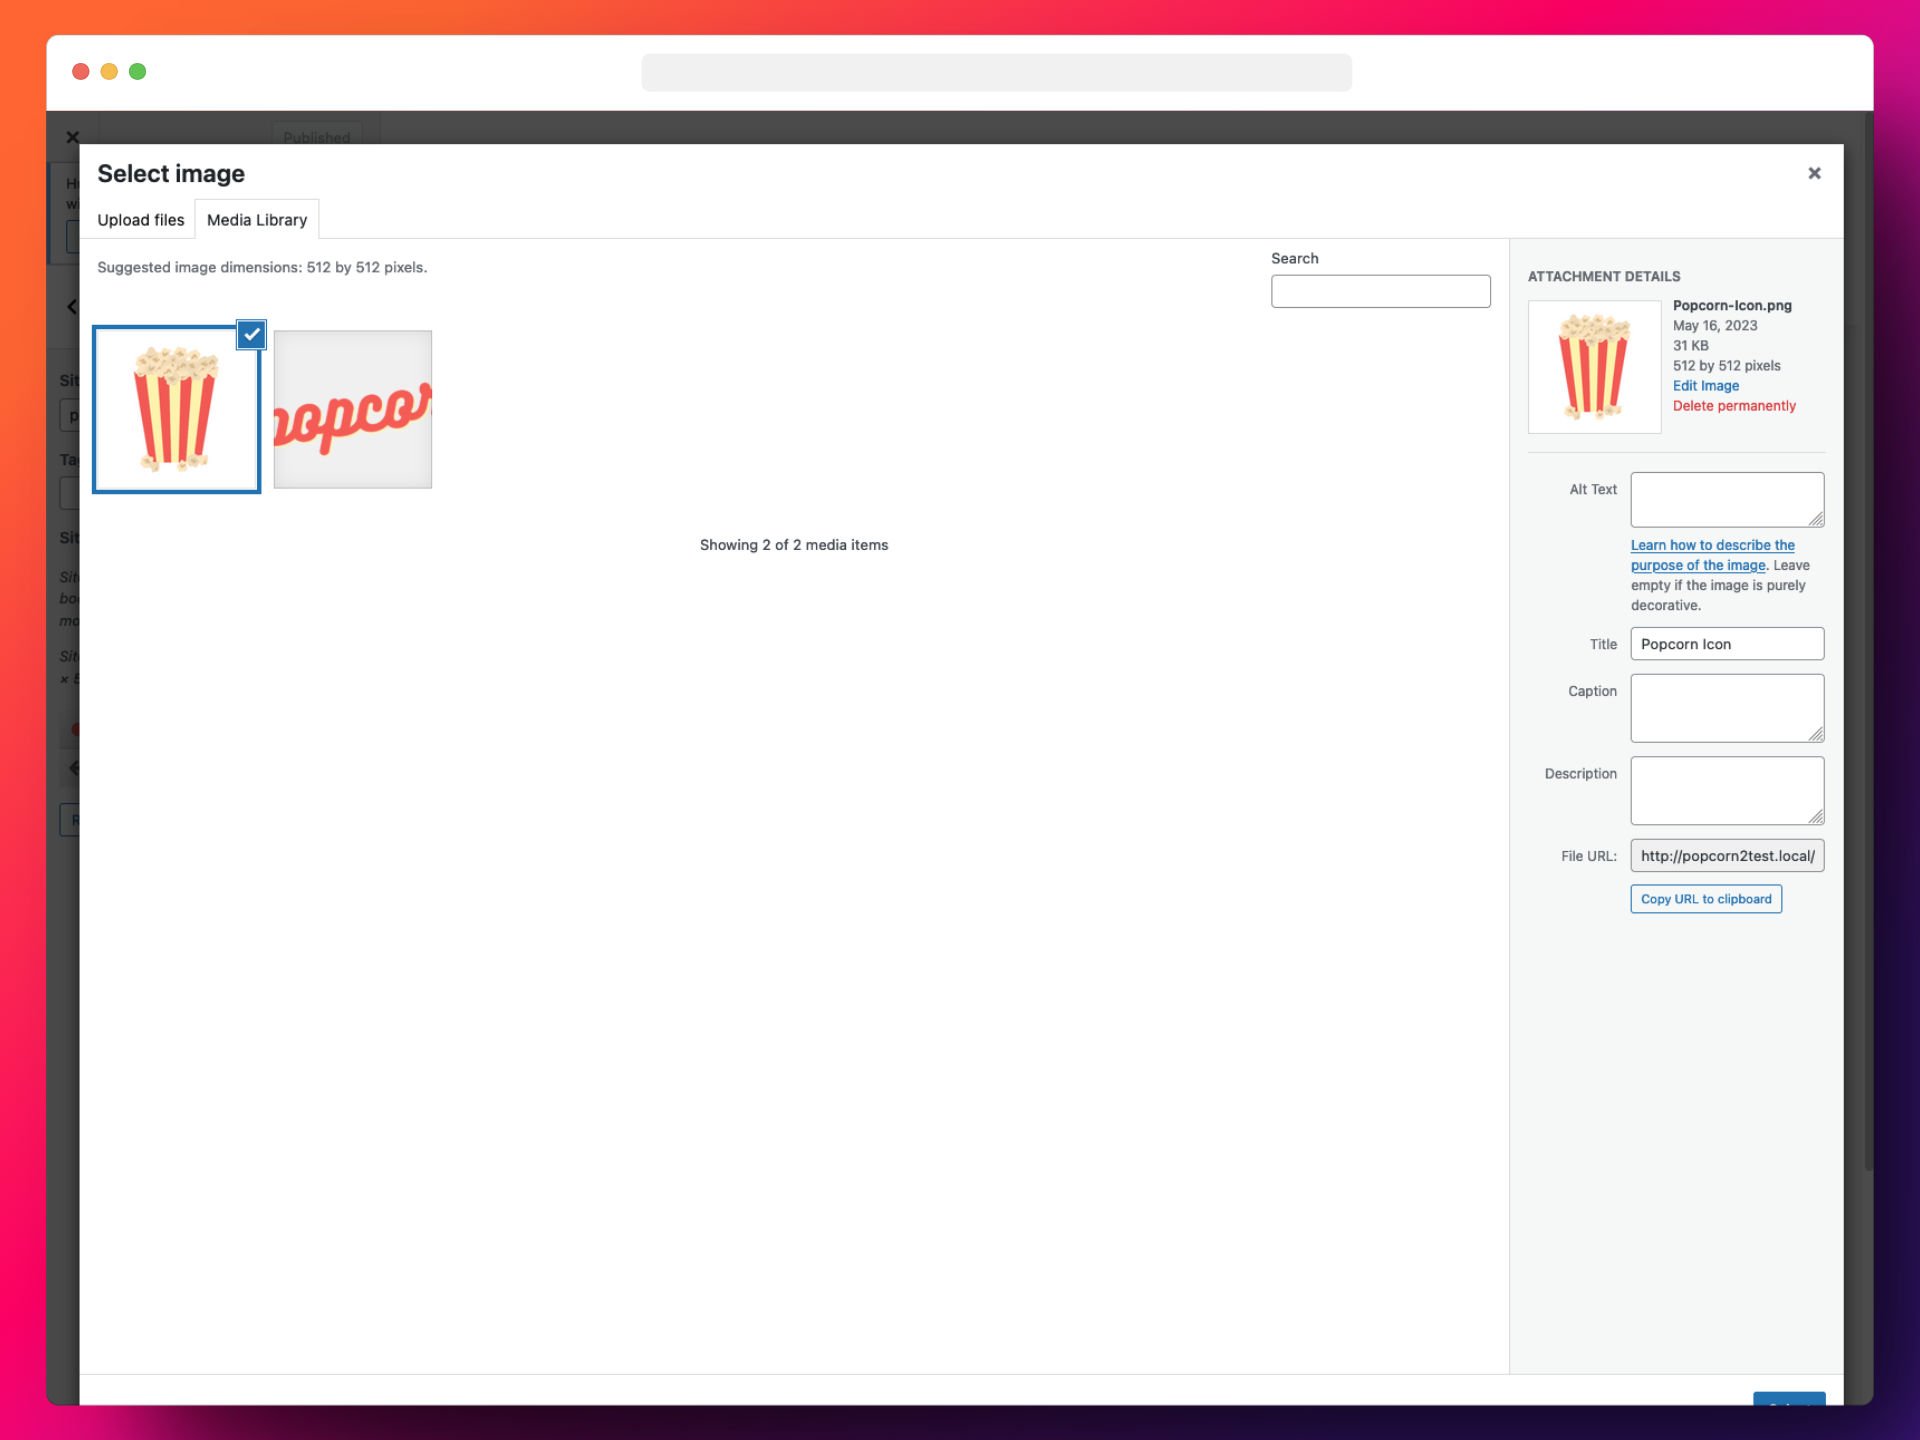
- Look for the Site Icon section and click on “Change Image.”

- Select the icon you want to use.
- Finally, publish the changes you made.

Method 2 – Enabling the Legacy Customizer:
By default, the Legacy customizer is disabled in block themes because it is rarely needed. However, you can enable it if necessary:
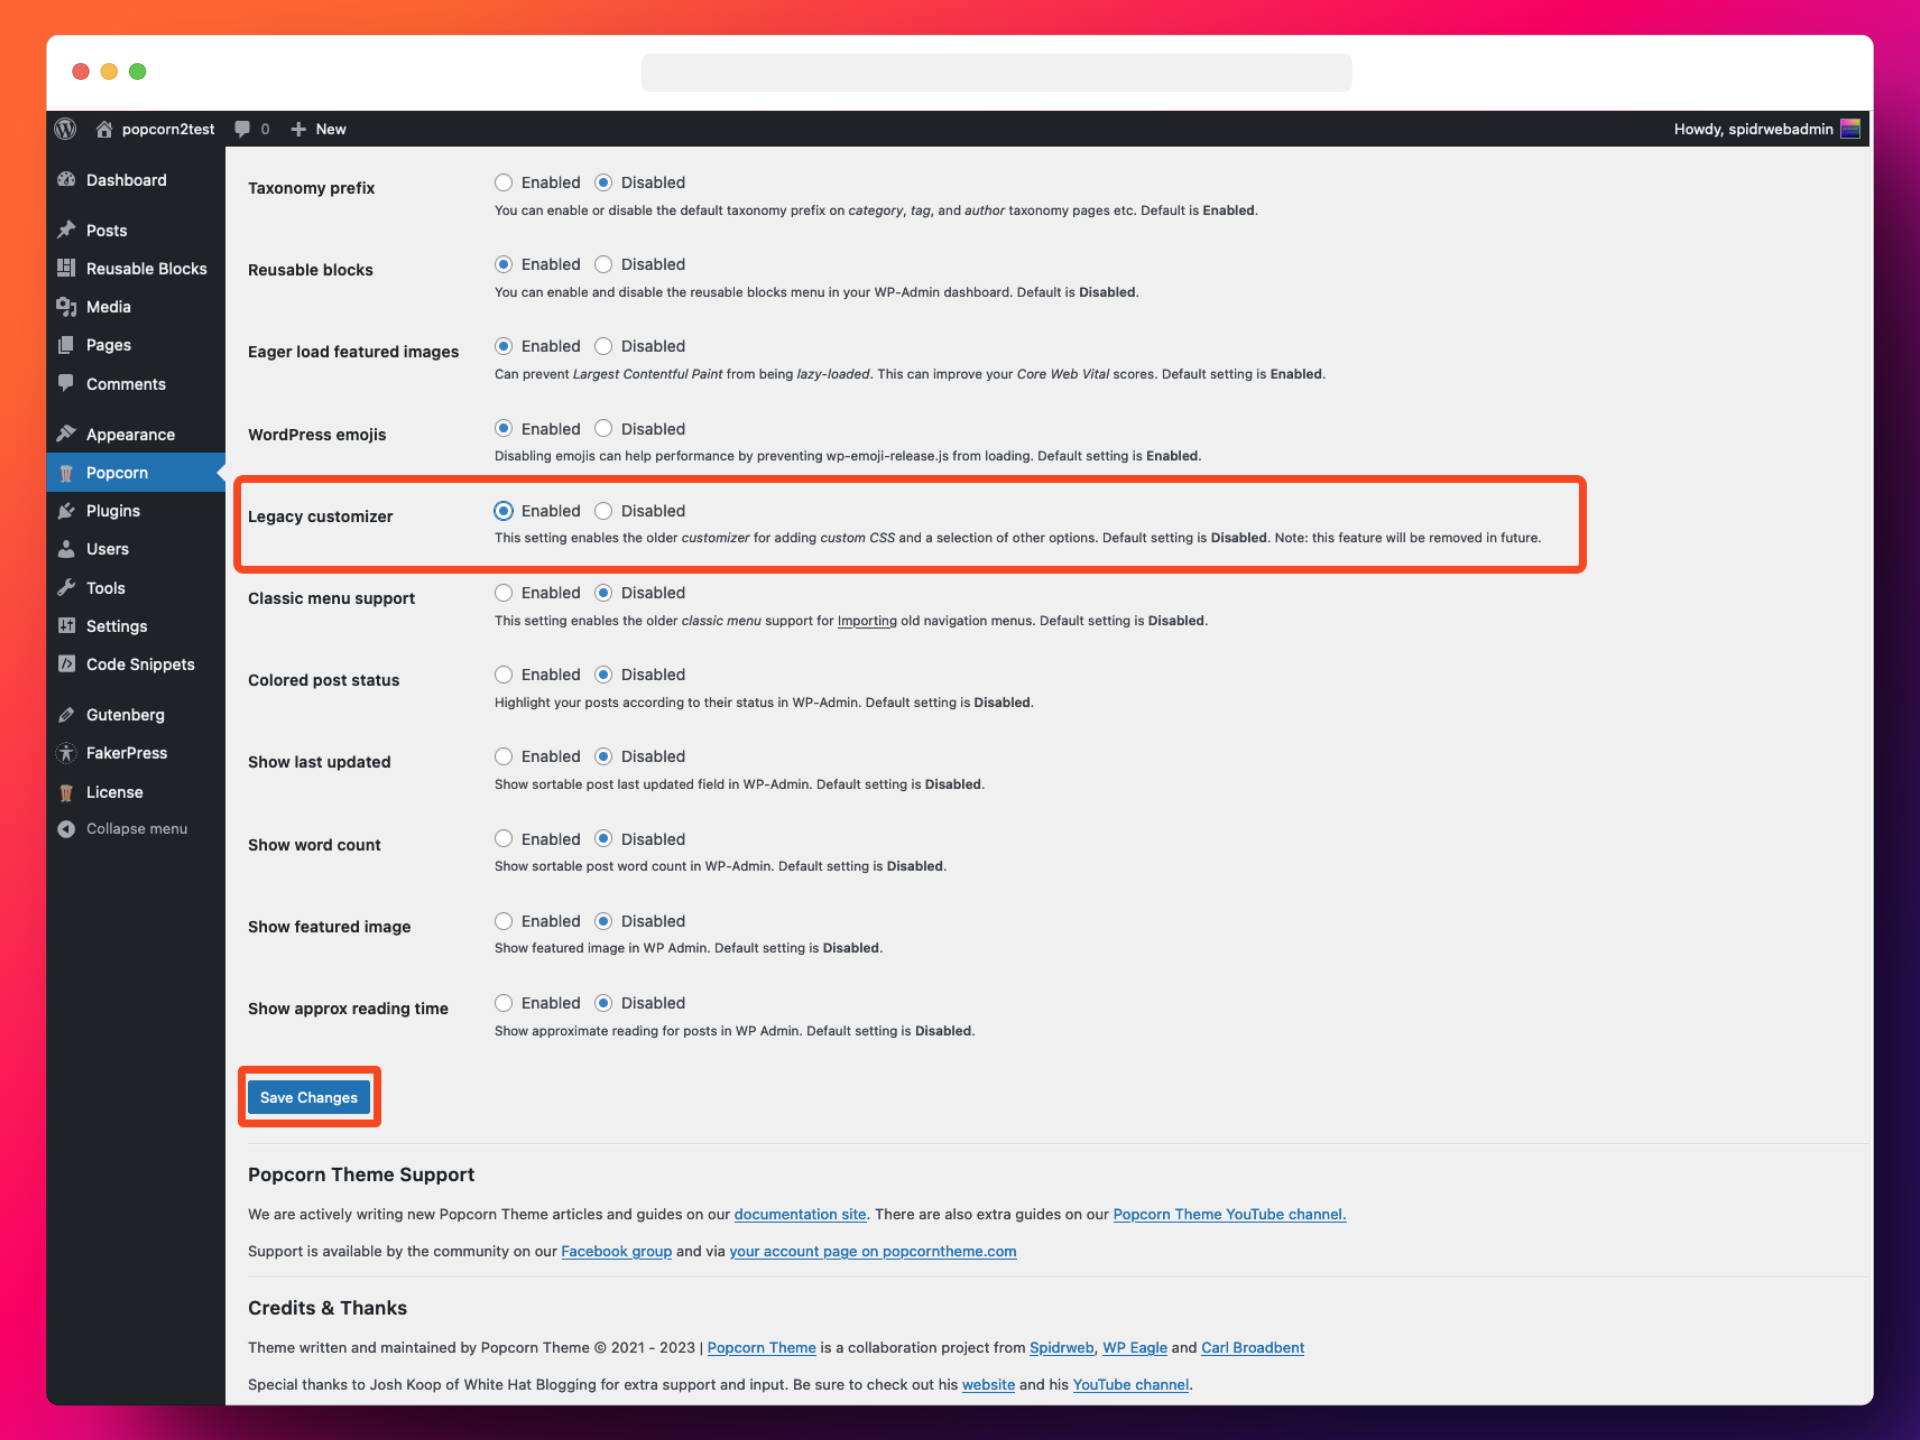
- Open Popcorn Options.
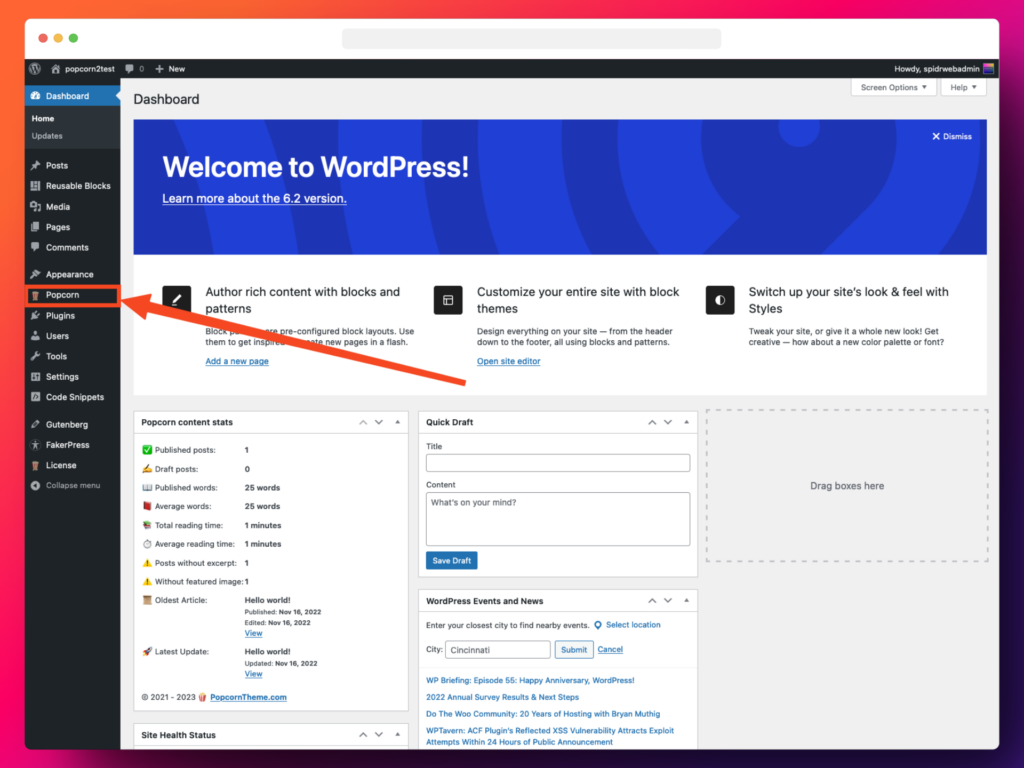
- Enable the Legacy customizer and save the changes.
- Now, go to Appearance > Customize.

- This will launch the older customizer.
- Look for the Site Icon section and click on “Change Image.”
- Select the icon you want to use.
- Don’t forget to publish the changes.
By following these steps, you’ll be able to easily add a custom site icon to your WordPress theme, enhancing the visual appeal and recognition of your website across various platforms.
Leave a Reply